When it comes to building and customizing a WordPress website, the possibilities are endless. With tools like page builders and the WordPress Customizer, even those without coding expertise can create stunning, professional-grade websites. This guide delves into the essentials of WordPress design and customization, focusing on page builders such as Elementor, Divi, and WPBakery, as well as the WordPress Customizer, to help you create a website that stands out.
The Power of WordPress Design and Customization
The power of WordPress lies in its flexibility and adaptability. Whether you are building a personal blog, a corporate website, or an online store, WordPress provides the tools to craft a site tailored to your needs. Understanding how to leverage design and customization features is key to achieving your goals. These tools make it possible to build a website that is not only functional but also visually engaging, even without extensive technical skills.
Understanding Page Builders
Page builders are among the most transformative tools in WordPress. These plugins allow you to design web pages using a drag-and-drop interface, bypassing the need for coding. With pre-designed elements, templates, and extensive customization options, page builders empower users to bring their creative visions to life. Whether you’re a beginner or a seasoned designer, these tools streamline the design process, making it accessible and efficient.
Elementor: A User-Friendly Powerhouse
Elementor stands out as one of the most user-friendly and versatile page builders. Its intuitive interface makes it easy for beginners to start designing immediately, while its advanced features cater to experienced users. Elementor offers a free version packed with essential tools, as well as a Pro version that unlocks additional capabilities like custom headers, footers, and dynamic content. Users can choose from a vast library of pre-built templates and widgets, enabling them to create complex layouts in minutes.
The customization options within Elementor are impressive. You can adjust every aspect of your website’s appearance, from fonts and colors to animations and responsive design. Its real-time editing feature ensures you see changes as you make them, eliminating guesswork. Additionally, Elementor supports integrations with popular plugins, enhancing functionality and compatibility across various WordPress setups.
Divi: A Comprehensive Design Solution
Divi, developed by Elegant Themes, is another powerful page builder known for its robust design capabilities. Unlike many page builders, Divi functions both as a theme and a standalone plugin, offering seamless integration and enhanced performance. Divi’s hallmark feature is its visual editor, which allows users to see their design changes in real time. With Divi, you can create highly detailed and customized layouts without writing any code.
One of Divi’s standout qualities is its extensive design library. The platform includes hundreds of pre-made templates, giving users a head start on their projects. Additionally, Divi provides advanced design options such as animations, hover effects, and flexible layout controls. For those working on multiple projects, Divi’s ability to save and reuse custom designs across websites is a significant time-saver. Its versatility makes it a favorite among web designers and developers.
WPBakery: Flexibility in Design
WPBakery, another widely used page builder, caters to users who prefer both frontend and backend editing capabilities. This flexibility is particularly useful for those transitioning between design perspectives. WPBakery’s extensive library of content elements allows users to build unique pages with ease. Additionally, its compatibility with most WordPress themes ensures a seamless integration process.
Customizing with WPBakery is straightforward, thanks to its intuitive interface. Users can drag and drop elements, modify settings, and preview changes instantly. WPBakery also supports third-party add-ons, which expand its functionality further. Whether you’re designing a portfolio, a blog, or an eCommerce site, WPBakery provides the tools to achieve professional results.
The WordPress Customizer: A Built-In Essential
In addition to page builders, the WordPress Customizer is a fundamental tool for website customization. Accessible from the WordPress dashboard, the Customizer allows users to tweak their site’s appearance in real time. Unlike page builders, which focus on individual pages, the Customizer is ideal for making global changes that affect the entire site’s design.
Key Features of the WordPress Customizer
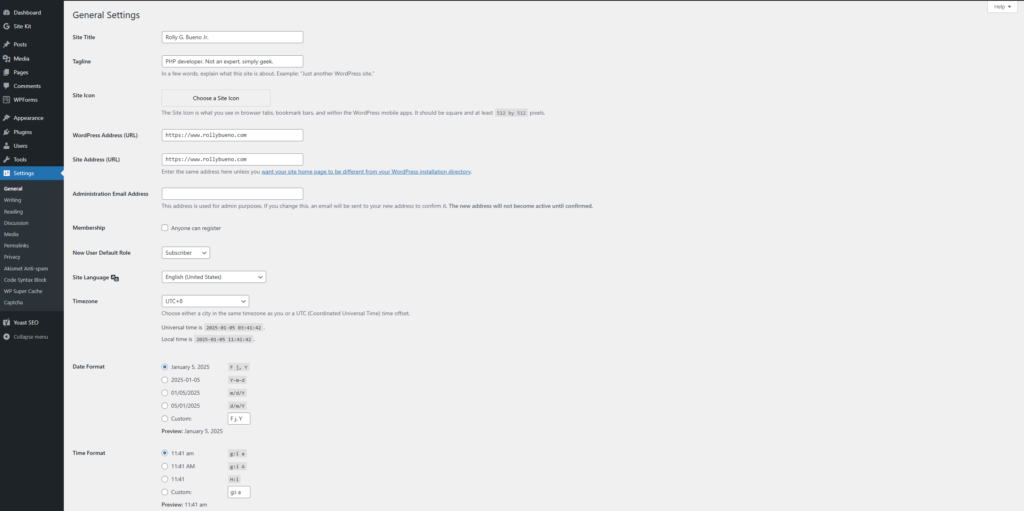
The WordPress Customizer provides a variety of features to enhance your site. You can modify basic settings such as your site’s title, tagline, and logo, ensuring consistent branding. Additionally, the Customizer allows you to adjust colors, fonts, and background images to align with your visual identity. Users can also manage menus and widgets, ensuring seamless navigation and functionality.
Advantages of Using the WordPress Customizer
Using the Customizer offers several advantages. It simplifies the process of maintaining a cohesive design throughout your site and enables quick adjustments. For example, if you need to update your color scheme or typography, the Customizer allows you to do so without affecting individual page layouts. Its live preview feature ensures you can experiment with changes confidently before publishing them.
Combining Page Builders with the WordPress Customizer
Combining page builders with the WordPress Customizer creates a powerful workflow for site design. Page builders handle detailed layouts and advanced design elements, while the Customizer ensures global settings remain consistent. This combination allows users to achieve both creativity and cohesion, resulting in a polished, professional website.
Tips for Effective Design and Customization
To make the most of WordPress design and customization tools, it’s important to approach the process with a plan. Begin by sketching out your site’s layout and gathering the resources you need, such as images and content. Maintaining consistency in your design choices, including color schemes and typography, will create a unified aesthetic. Always optimize your site for mobile devices, as a significant portion of web traffic comes from smartphones and tablets.
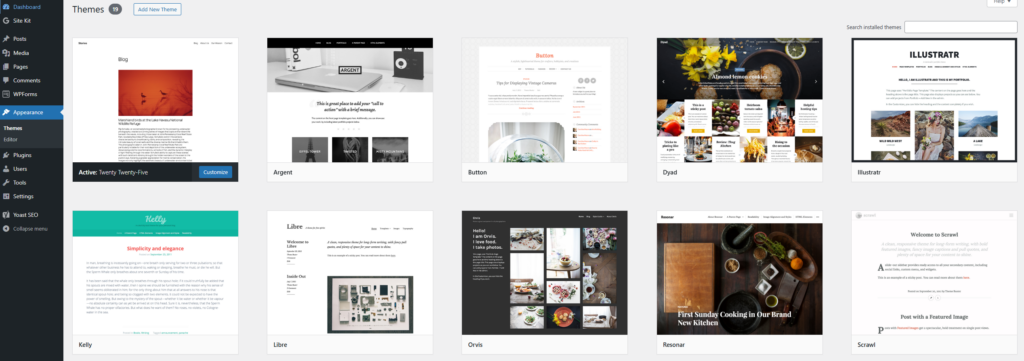
Templates can also be a valuable resource when customizing your WordPress site. Many page builders and themes offer pre-designed layouts that can serve as a starting point for your project. These templates can save time and provide inspiration, especially if you’re unsure where to begin. Once you’ve selected a template, you can customize it to reflect your unique style and branding.
Conclusion: Unleashing Your Creativity with WordPress
Designing and customizing a WordPress website is an exciting and rewarding process. Tools like Elementor, Divi, WPBakery, and the WordPress Customizer make it possible for anyone to create a visually appealing and functional site. By combining these tools and following best practices, you can craft a website that not only meets your needs but also exceeds your expectations. With WordPress, the only limit is your imagination.